Learning how to build a gaming PC comes down to three things: a parts list where everything is compatible, a calm afternoon with a Phillips screwdriver, and a careful first boot where you turn on the memory’s EXPO profile in BIOS. None of it needs special skills, and the steps below take you from an empty desk to a working Windows desktop.
This PC build guide comes from the Luxvibe PC build team, the people who assemble our systems by hand every day. It covers tools, parts, assembly order, cables, first boot, BIOS and drivers, plus a fair look at when buying a hand-built PC makes more sense.
In This Guide
How to Build a Gaming PC: What You Need
Gather everything before you open a box:
- A Phillips #2 screwdriver, ideally magnetic.
- A large, clear table with good light, away from carpet.
- Zip ties or Velcro straps and flush cutters.
- A USB flash drive and a second PC to create the Windows installer.
- Your manuals. The motherboard manual is the most important document in this gaming PC build guide; keep it open.
Touch bare metal on the case to discharge static, hold boards by the edges, and never touch the CPU’s contact pads.
Step 1: Plan a Compatible Parts List
Every good gaming PC build guide starts with compatibility, because most failed builds begin with a part that doesn’t fit or doesn’t match. Here is a typical AMD gaming build and what to check for each part:
| Part | Example | What to check |
|---|---|---|
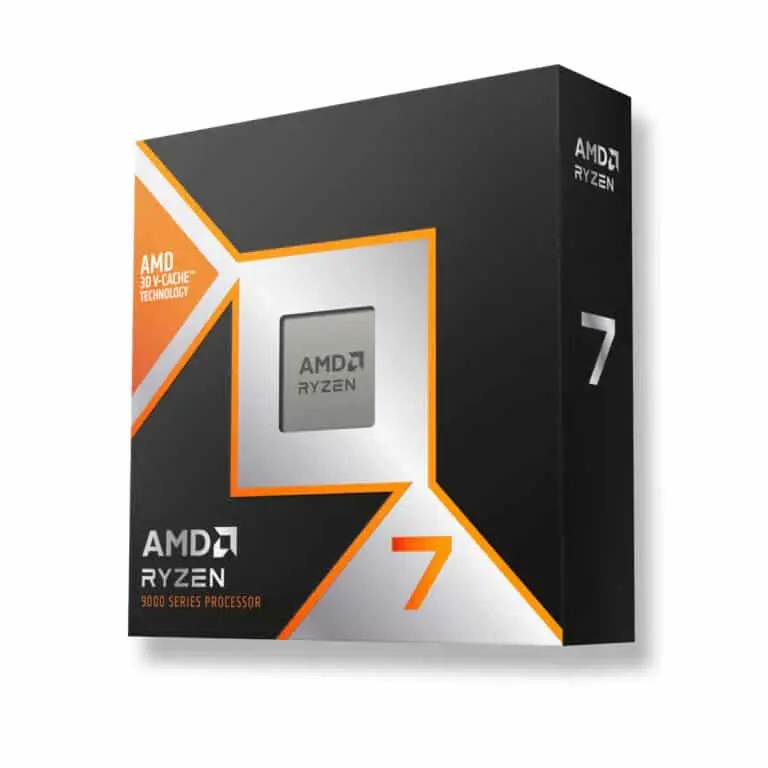
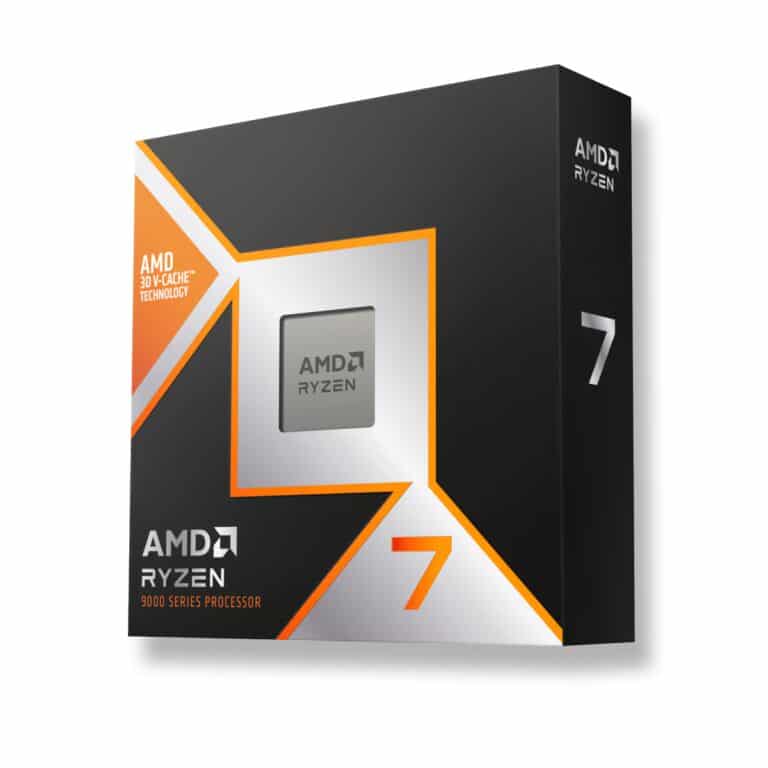
| CPU | AMD Ryzen 7 9800X3D | Socket (AM5); cooler not included in the box |
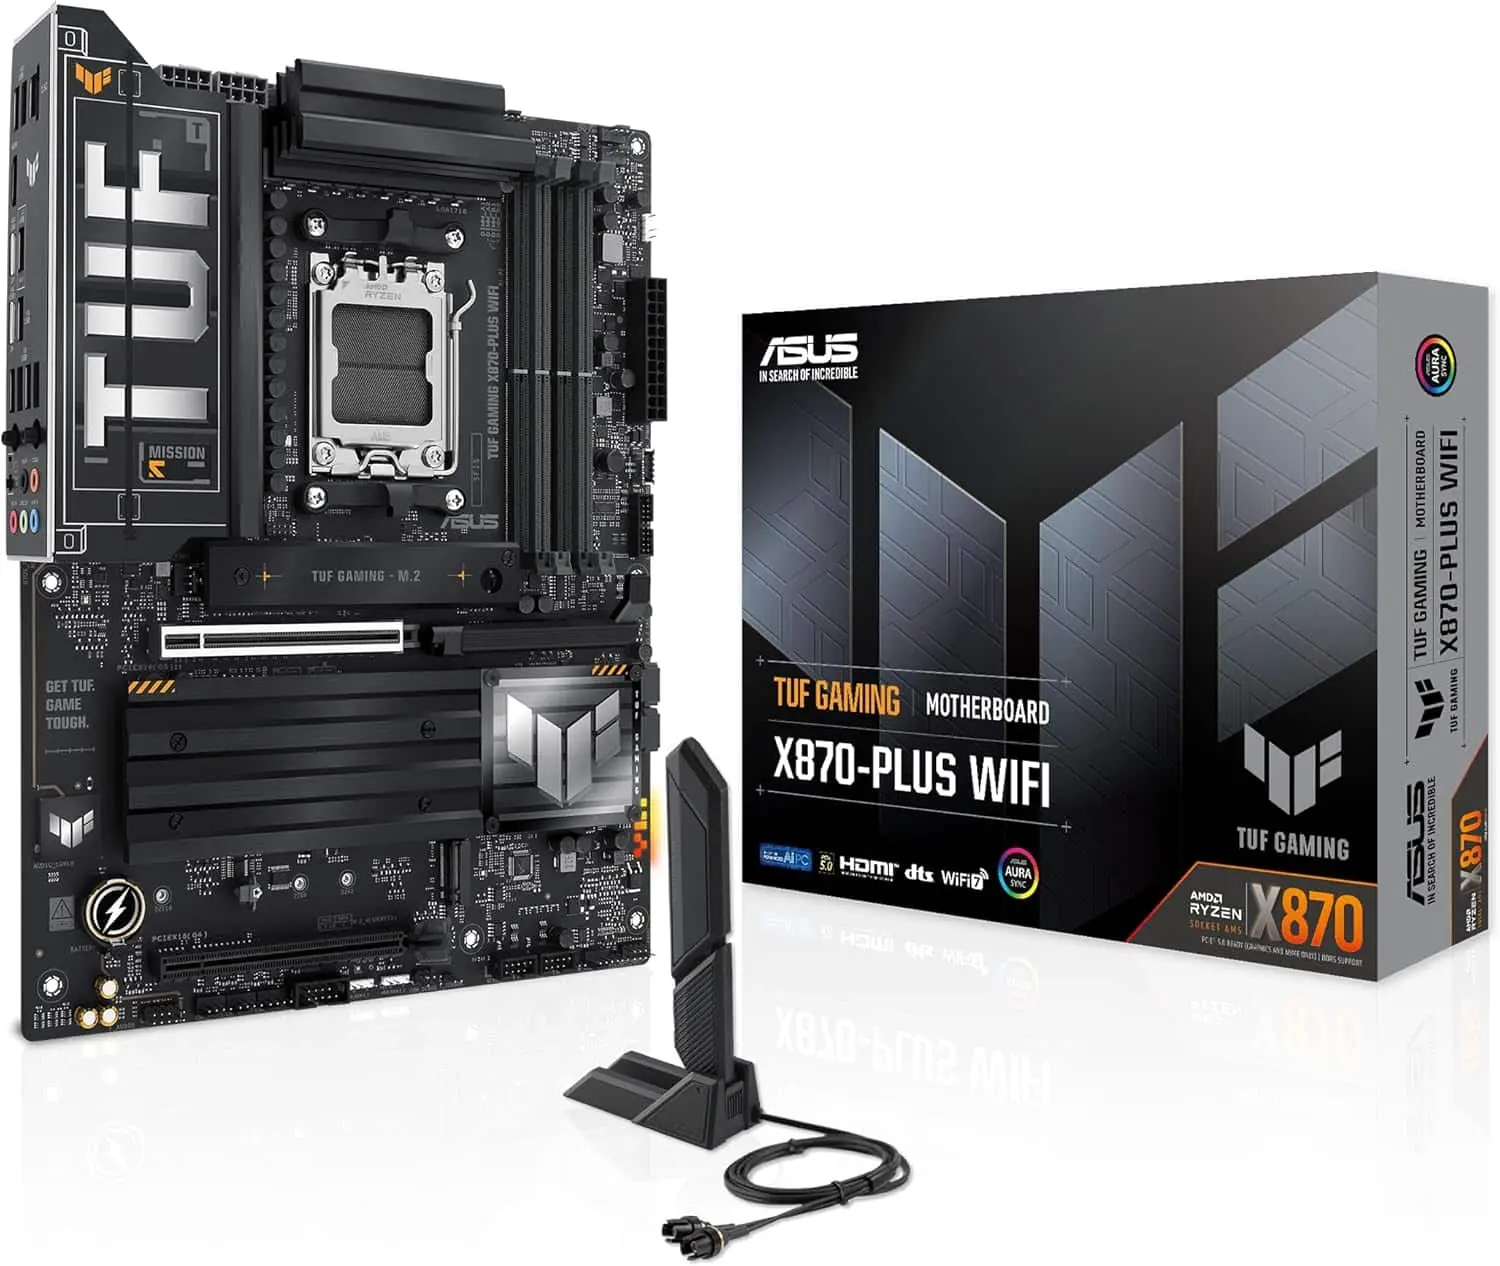
| Motherboard | B850, X870 or X870E board | Socket match; BIOS version for newer CPUs |
| Memory | 32 GB DDR5-6000 EXPO, 2 sticks | DDR5 for AM5; two sticks, not four |
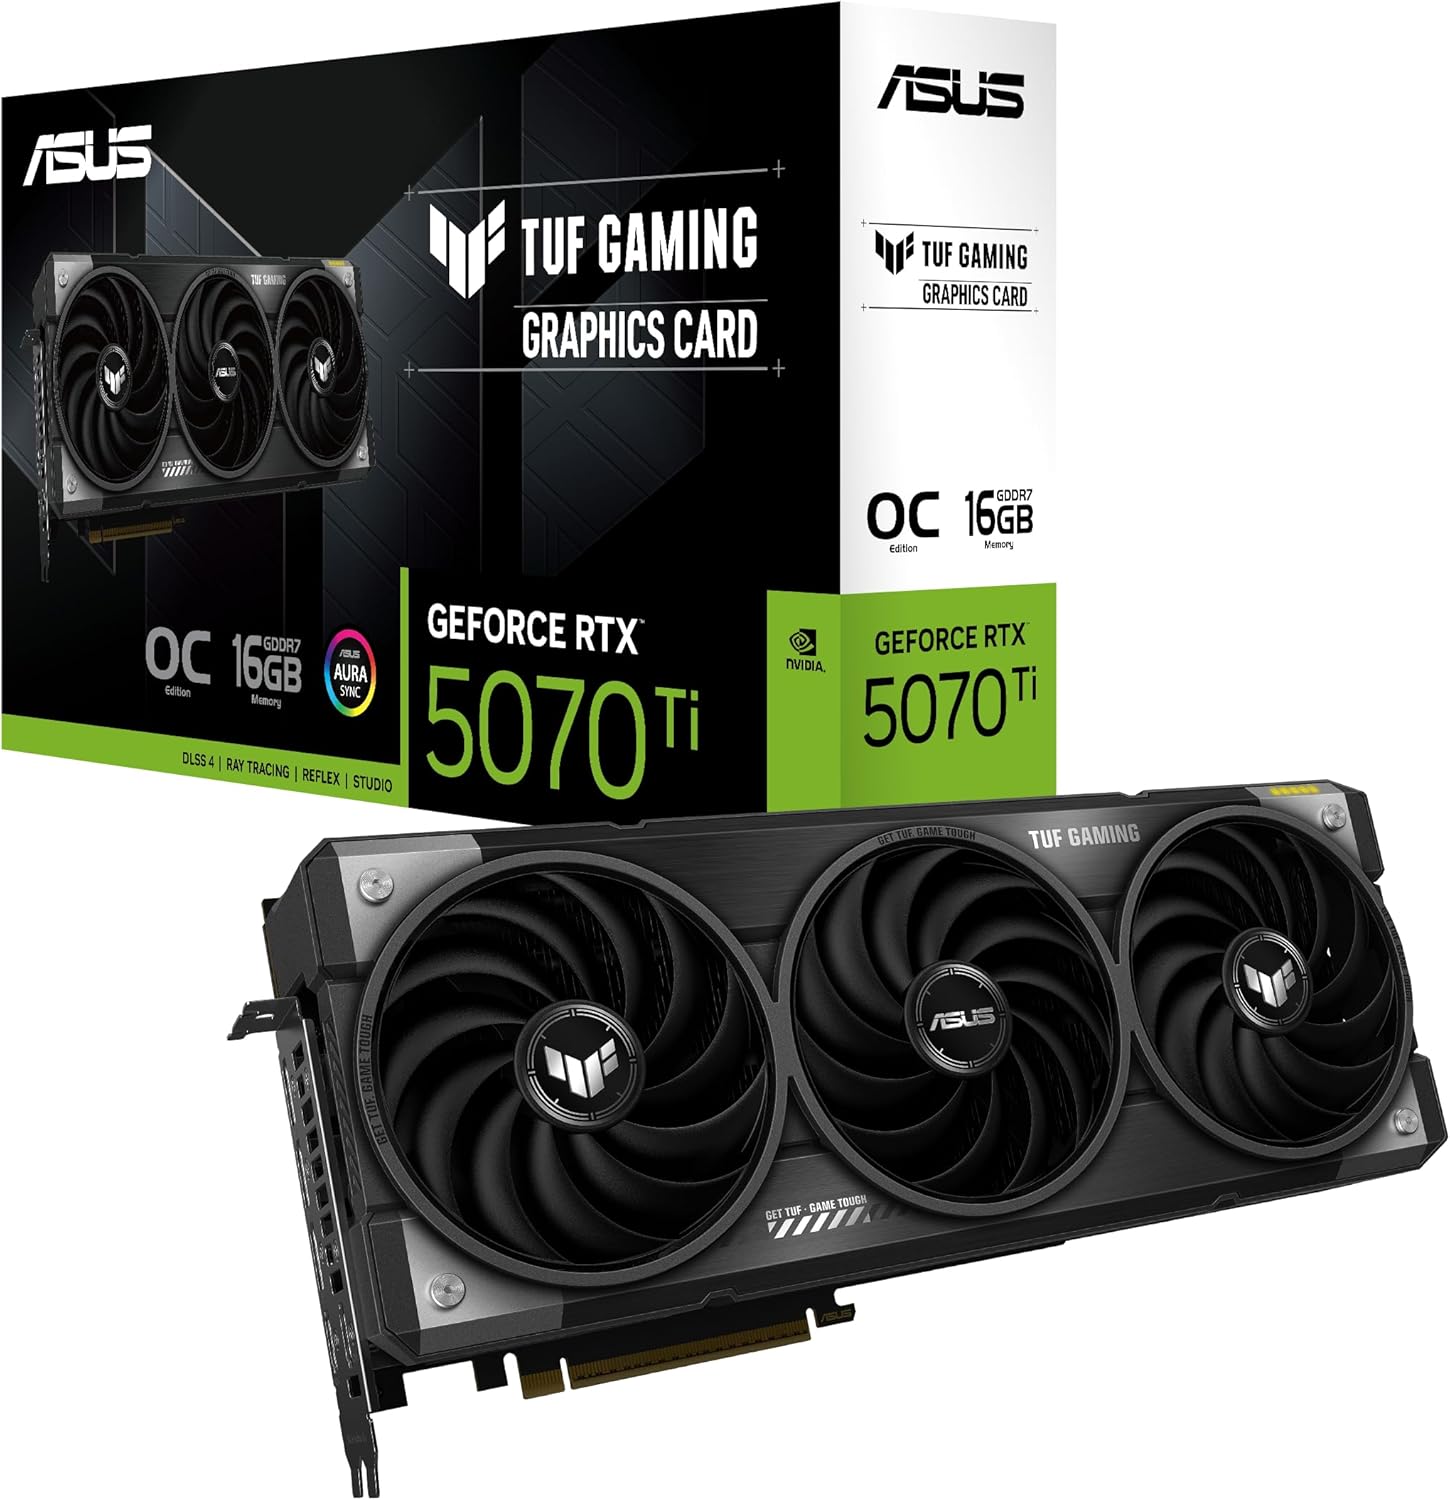
| Graphics card | RTX 5070 Ti or RX 9070 XT | Length vs case clearance; power connectors |
| Power supply | 850 W to 1,000 W | GPU maker’s system power guidance |
| Storage | PCIe NVMe M.2 SSD | M.2 slot count and heatsinks |
| Cooler | Air tower or 360 mm AIO | Socket bracket, case radiator or height limits |
| Case | ATX mid-tower | GPU length, cooler and fan support |
A few rules our builders follow on every parts list:
- Cooling: The Ryzen 7 9800X3D ships without a cooler, and AMD recommends liquid cooling for optimal performance.
- Memory: For a new gaming PC in 2026, 32GB DDR5 RAM is the standard. AMD’s official speed for the 9800X3D is DDR5-5600 with two sticks but drops to DDR5-3600 with four, so buy a two-stick kit. DDR5-6000 EXPO kits are the common sweet spot.
- Power: NVIDIA’s required system power is 750 W for an RTX 5070 Ti, 850 W for an RTX 5080 and 1,000 W for an RTX 5090. AMD recommends 750 W for the RX 9070 XT.
- Motherboard: All AM5 boards run Ryzen 9000 chips, but older boards may need a BIOS update first. Our guide to picking a motherboard for the 9800X3D goes deeper on chipsets.
Budget note: launch MSRPs were $479 for the 9800X3D, $749 for the RTX 5070 Ti and $599 for the RX 9070 XT, but graphics card and RAM street prices are well above MSRP in 2026 because of the memory shortage. A 32 GB DDR5-6000 kit runs roughly $500 to $650 at the time of writing.
Step 2: Prepare the Motherboard
Do this part on the motherboard box, not inside the case, where everything is easier to reach. It’s the order our builders use, and the one we suggest to anyone learning how to build a gaming PC.
- Install the CPU. Lift the AM5 retention lever and frame. Line up the small triangle on the CPU’s corner with the triangle on the socket, lower it straight down, then close the frame and lever. Firm pressure is normal, and the plastic socket cover pops off as you close it; keep it.
- Install the M.2 SSD. Remove the slot’s heatsink, peel the film off its thermal pad, slide the drive in at an angle and secure it. Use the primary slot your manual lists.
- Install the RAM. With two sticks, most boards want the second and fourth slots from the CPU (often labeled A2 and B2), but check your manual. Line up the notch and press until the latches click.
Step 3: Prep the Case and Install the PSU
Remove the side panels and set any glass somewhere safe. Check that the standoffs match your board size; most ATX cases ship with them pre-installed. If your board lacks a built-in I/O shield, snap the included one into the case now.
Mount the power supply, usually fan-down over a filtered vent. With a modular PSU, plug in only the cables you need (24-pin motherboard, 8-pin CPU EPS and graphics card) and route them through the cutouts now, while the case is empty.
Step 4: Mount the Motherboard and Cooler
Lower the board in at an angle so the rear ports slide into the I/O opening, line up the standoffs, and start every screw by hand. Stop at snug.
For an air cooler, fit the bracket and heatsink now, and peel any plastic film off the cold plate; many coolers come with paste pre-applied. For a 360 mm AIO, mount the radiator first (top or front, per the case manual), then the pump block. If you’re weighing the two options, our liquid cooling explainer covers the trade-offs.
Step 5: Install the Graphics Card
The graphics card goes in late so it doesn’t block your hands. Remove the expansion slot covers that line up with the top PCIe x16 slot; most cards need two or three. Press the card straight into the slot until the latch clicks, then screw the bracket to the case.
Connect power next. RTX 50 Series cards use a 16-pin 12V-2×6 connector or an included adapter; the RX 9070 XT reference spec uses two 8-pin plugs. Seat a 16-pin plug fully with no gap, don’t bend the cable sharply at the connector, and fit the support bracket if your card came with one.
Step 6: Connect Power and Front-Panel Cables
Our gaming PC build guide connects cables in this order:
- 24-pin ATX to the right edge of the motherboard.
- 8-pin EPS CPU power to the top-left corner. Some boards have two; connect both if your PSU has them.
- Front-panel header: power switch, reset and LEDs. Use the diagram in your manual; this is the fiddliest step in any PC build guide.
- Front USB and USB-C headers, plus front audio.
- Fans and pump: CPU_FAN for the cooler (or AIO pump header), the rest to system fan headers or a hub.
Tidy cables behind the motherboard tray with ties before you close anything up.
Step 7: First Boot and BIOS Setup (EXPO)
The first power-on is the moment every PC build guide leads up to. Plug the monitor into the graphics card, not the motherboard, flip the PSU switch on and press the power button.
Be patient. A DDR5 system can sit on a black screen for a few minutes while the board trains the memory, so don’t power it off. If it never posts, many boards have debug LEDs (CPU, DRAM, VGA, BOOT) that point to the problem.
Once you reach the BIOS (usually the Delete key), check these in order:
- The CPU, the full memory capacity and the SSD are all detected.
- CPU temperature at idle looks reasonable in the hardware monitor page.
- Enable EXPO (AMD) or XMP (Intel). Without it, the RAM runs at its default JEDEC speed instead of the rated DDR5-6000. Save, reboot, and let it train again.
- Update the BIOS if the board’s version predates your CPU. Many boards can flash from a USB drive.
- Set your fan curves, then set the USB installer as the first boot device.
Step 8: Install Windows and Drivers
Create the installer on another PC with Microsoft’s Media Creation Tool. Per Microsoft’s Windows 11 requirements, you need UEFI with Secure Boot capability and TPM 2.0; modern boards include a firmware TPM (AMD calls it fTPM). Windows 11 Home and Pro also need an internet connection and a Microsoft account during first-time setup, so have Ethernet ready in case Wi-Fi drivers are missing.
After Windows loads, install the chipset driver from AMD or your board maker, then the graphics driver through the NVIDIA App or AMD Software: Adrenalin Edition. Set your monitor’s refresh rate in Settings > System > Display > Advanced display. That completes the hands-on part of this PC build guide. For the rest of the tuning, follow our guide to optimizing Windows for games.
Should You Learn How to Build a Gaming PC or Buy Hand-Built?
Knowing how to build a gaming PC is rewarding, but you also own the troubleshooting. Here’s a fair comparison:
| Build it yourself | Hand-built Luxvibe PC | |
|---|---|---|
| Time | An afternoon to a weekend, plus any troubleshooting | Our builders assemble it to order |
| Parts | Anything you can source | Pick a build; upgrades and changes are possible before we build |
| Help | Manuals and each part maker’s support | Real builders answer questions by email |
| Cost | Parts only; your time is the trade | Parts plus build labor |
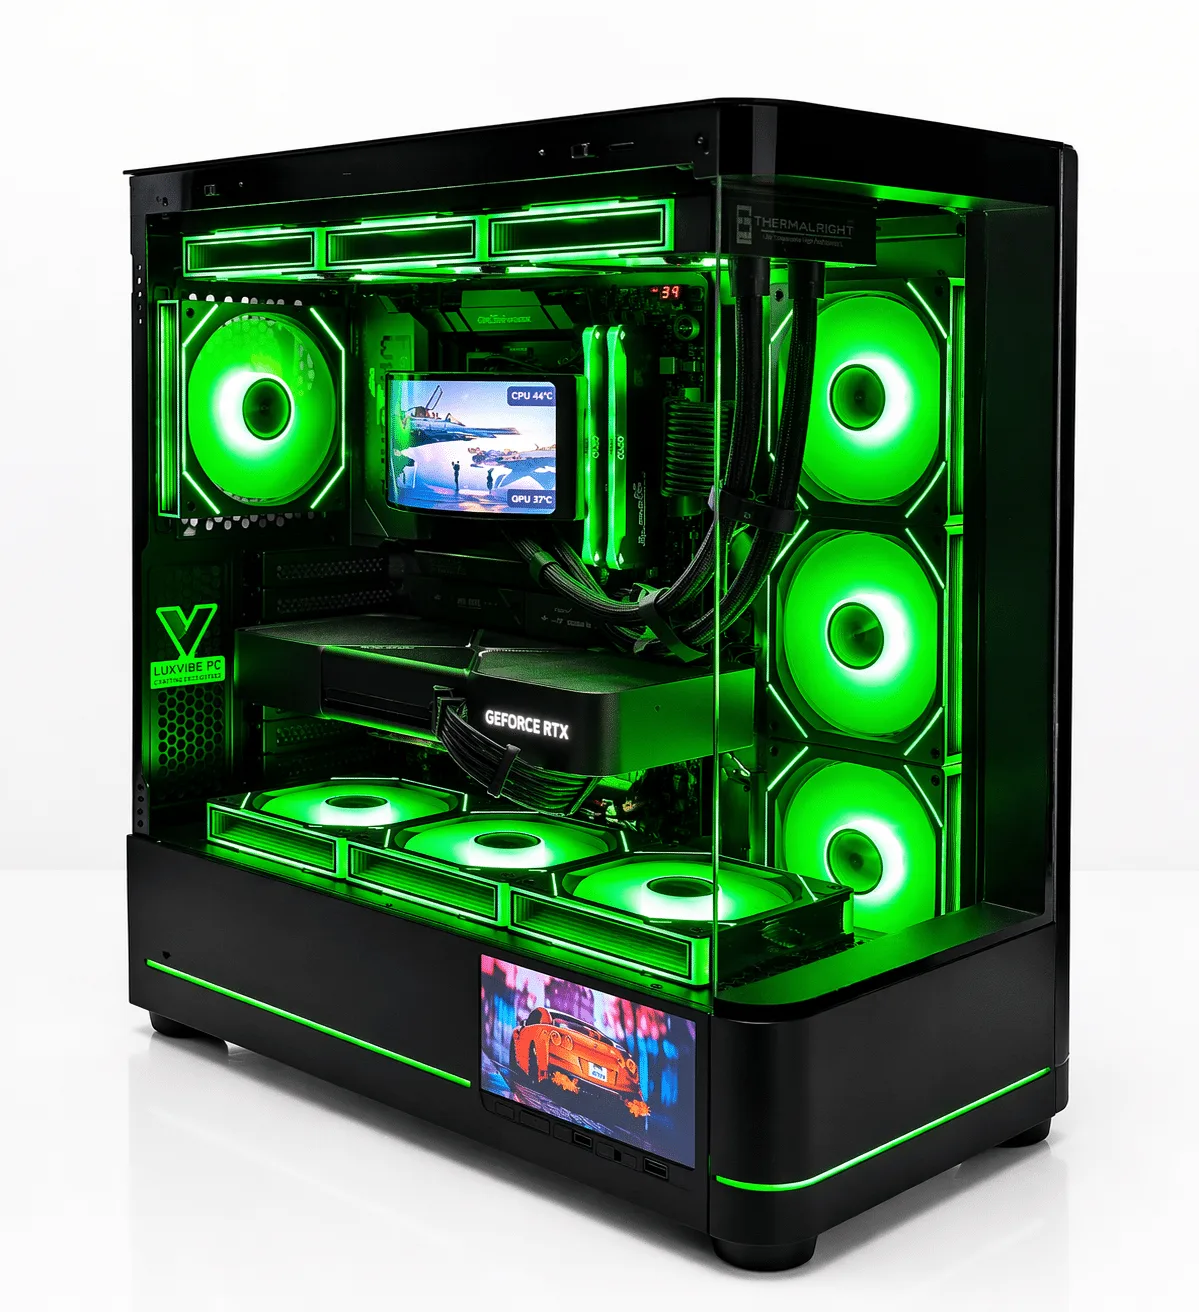
If the parts list or the first boot sounds like more than you want to take on, a custom gaming PC from Luxvibe PC is hand-built to order and shipped from Oshkosh, Wisconsin to the USA and worldwide.
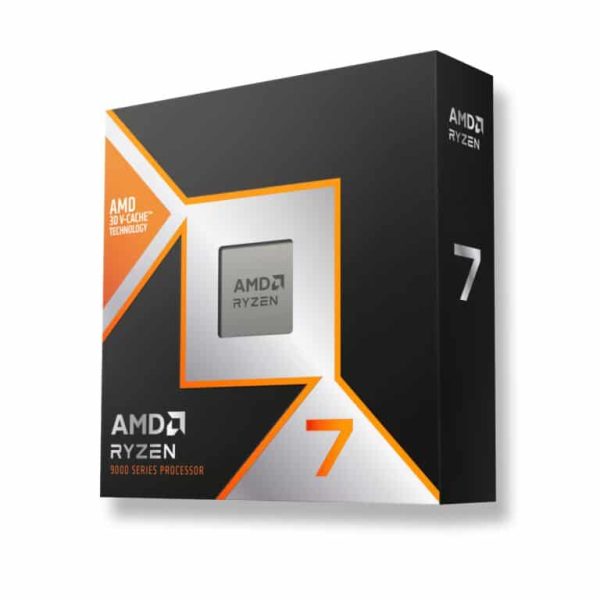
AMD Ryzen 7 9800X3D
The AMD Ryzen 7 9800X3D is a desktop processor with 8 cores and boost speeds up…
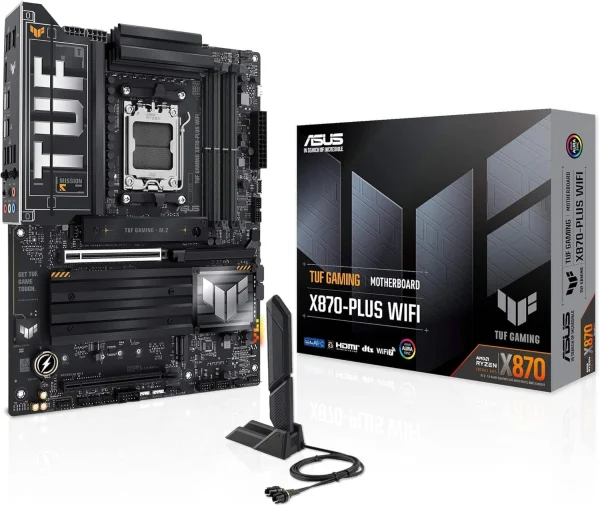
ASUS TUF Gaming X870-Plus WiFi 7
The ASUS TUF Gaming X870-Plus WiFi 7 is an X870 ATX motherboard, giving your build a…
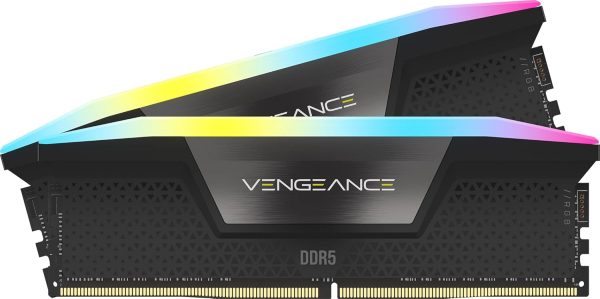
Corsair Vengeance RGB 32 GB
The Corsair Vengeance RGB 32 GB is a 32GB (2 x 16GB) DDR5 memory kit running…
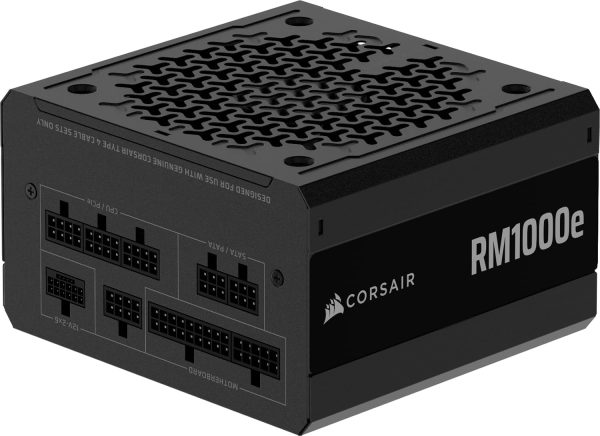
Corsair RM1000e
The Corsair RM1000e is a 1000W power supply, built to deliver clean, stable power to high-end…
How to Build a Gaming PC FAQ
Is it hard to learn how to build a gaming PC?
No. If you can follow a manual and turn a screwdriver, you can do it. The tricky parts are front-panel pins, fully seating power cables and being patient during the first boot while DDR5 memory trains.
How long does a first build take?
Most first-timers following a PC build guide like this one need an afternoon to assemble, plus time for Windows and drivers. Don’t rush the cable work.
What’s the most common first-boot mistake?
Plugging the monitor into the motherboard instead of the graphics card. Next on the list for anyone learning how to build a gaming PC: a loose power connector or RAM that isn’t fully clicked in.
Do I need to enable EXPO after building?
Yes. Without EXPO or XMP, the RAM runs at its default JEDEC speed. Turning it on in BIOS is the last step in our gaming PC build guide before installing Windows.
Is it cheaper to build or buy a gaming PC?
Building saves the cost of labor, but you take on the time and troubleshooting. With memory and GPU prices high in 2026, price out the parts list from this PC build guide and compare the total against a hand-built system.
The Bottom Line
Knowing how to build a gaming PC is mostly about preparation: a compatible parts list, a PSU sized to the GPU maker’s guidance, two RAM sticks in the right slots, and a calm first boot with EXPO switched on. Follow the steps above in order and most builds start on the first try.
If you’d rather play than build, browse our hand-built gaming PCs. Still have questions after this gaming PC build guide? Ask our builders to check your parts list before you buy.